How to Hang Acrylic Wall Art: A Step-by-Step Guide for Effortless Display
Hanging acrylic wall art can transform your interior space, giving it a modern look that reflects your personality. To achieve the best results, choose a suitable method and ensure proper alignment, as this will enhance the overall aesthetic of your decor. With the right tools and techniques, you can display your art in a way that adds sophistication and style to any room.

The Wild Rose Gallery offers a variety of striking designs that can complement any color scheme or theme you have in mind. Elevate the appearance of your walls by selecting acrylic prints that resonate with your unique taste. When you hang these pieces correctly, you not only beautify your space but also create a focal point that invites admiration.
Whether you are an art enthusiast or a casual decorator, mastering the hanging process will elevate your space significantly. Follow a few simple steps to ensure your acrylic wall art is displayed perfectly, allowing you to enjoy and showcase your artwork for years to come.
Required Tools and Materials
To successfully hang acrylic wall art, you need to gather specific tools and materials. Having the right hardware is essential to ensure stability and presentation. It's equally important to identify the wall type to select the most appropriate installation techniques.
Choosing the Right Hardware
Selecting the correct hanging hardware is crucial for securely displaying your acrylic prints. Common types include:
- Screws: Choose sturdy screws that can support the weight of your art.
- Wall Anchors: These are necessary for drywall or plaster when you don't hit a stud. They provide additional support.
- Hanging Hardware: Options like D-rings, picture wire, or French cleats work well. Each method can affect how your art hangs and its ease of installation.
Investing in quality hardware ensures your artwork remains securely in place while enhancing its visual appeal.
Identifying Wall Types
Understanding your wall type helps determine the best mounting approach. Here are common wall types you may encounter:
- Drywall: Use a stud finder to locate wall studs. This will give better support and reduce wall damage.
- Plaster: Requires careful drilling. Anchors are often necessary to avoid crumbling.
- Concrete or Brick: Use masonry screws or anchors to securely attach the artwork.
Knowing your wall type allows you to choose the right tools and ensures successful installation, ensuring your acrylic art remains a stunning focal point in your space.
Preparation and Positioning
Getting ready to hang your acrylic wall art starts with accurate measurement and thoughtful positioning. Proper preparation sets the stage for a balanced and visually appealing display.
Measuring and Marking
Begin by determining the ideal height for your artwork. A common recommendation is to position the center of the artwork at eye level, typically around 57 to 60 inches from the floor.
Use a measuring tape to find this height on your wall. Mark the spot with a pencil for reference. Next, measure the dimensions of the acrylic print. Divide by two to find the center. From this center point, measure outwards to mark where the hanging hardware will go.
Create a simple visual guide by making a light pencil mark for each point. This will help you stay organized and ensure the placement is correct when you’re ready to hang.
Locating Studs and Using Drywall Anchors
Finding wall studs is essential for ensuring the stability of your installation. Use a stud finder to locate where the studs are behind your drywall. Mark these locations lightly with a pencil.
If your artwork doesn't align with the studs, you will need to use drywall anchors to secure the screws. Choose anchors that can support the weight of your acrylic piece.
For hanging, drill a hole for the anchor, then insert it according to package instructions. Once secured, you can attach the hanging hardware directly to the wall.
Utilizing a level throughout this process helps maintain balance. Always double-check your marks and placements before drilling to ensure a straight hang.
Hanging Techniques
Choosing the right method to hang your acrylic wall art is crucial for ensuring it remains secure and visually appealing. Here are detailed techniques to consider for your installation.
The Direct Mount Method
The direct mount method involves attaching your acrylic art directly to the wall. This can be done using a hanging wire or hanger plate. First, locate the center of your piece and mark it.
You can then secure the hardware by drilling into the wall and attaching it to the back of the acrylic. Ensure you use appropriate anchors for your wall type, such as drywall anchors or screws for studs.
This method provides a streamlined look, allowing the artwork to seem as if it’s floating on the wall. It's also straightforward and requires minimal tools.
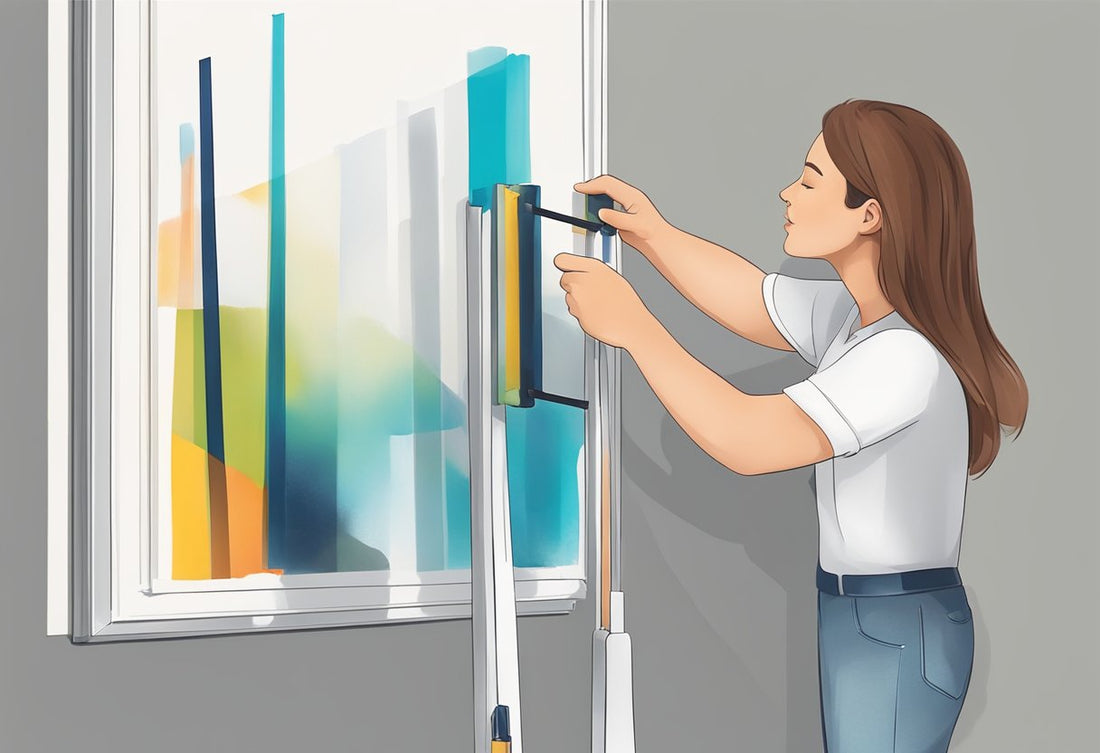
Using a Hanging System
A hanging system, like a French cleat system, provides both versatility and strength. This method typically consists of two interlocking strips: one attached to the wall and the other to the back of the artwork.
To install, first, secure the wall mount strip horizontally with appropriate anchors. Next, attach the corresponding strip to the back of your acrylic print.
Align the two strips to interlock, securing the artwork firmly in place. This technique allows for easy adjustment or swapping of art without leaving holes in the wall.
Securing with Standoff Bolts
Standoff bolts add a professional touch while ensuring your acrylic wall art is securely mounted. This method involves using aluminum strips or standoff bolts to create distance between the piece and the wall.
Begin by drilling holes in each corner of the artwork, then secure the standoffs through these holes into the wall.
This method provides depth and enhances the visual appeal of your art while increasing stability. You’ll achieve a gallery-like presentation that truly stands out in your space.
Consider using standoff bolts if you want your art to have a modern and distinctive look.
Finishing Touches
Final adjustments are crucial for ensuring that your acrylic wall art looks its best and remains securely in place. Attention to detail during this phase can enhance the overall presentation and longevity of your art piece.
Ensuring Stability and Alignment
To maintain the integrity of your acrylic art, make sure it is level after hanging. Use a spirit level to check horizontal alignment. If your artwork tilts, it may not only look unprofessional but could also be at risk of falling.
Consider different hanging solutions. Wall anchors can provide additional support, especially for heavier pieces. For lighter artworks, adhesive strips can also be effective. Ensure that the mounting hardware is strong enough for the weight of your acrylic art to prevent any accidents.
Inspect the positioning regularly. Over time, shifts in temperature and humidity can impact hanging stability. If you notice any inconsistencies, adjust the alignment as needed to maintain balance.
Cleaning and Maintenance
Cleaning your acrylic wall art enhances its visual appeal and extends its lifespan. Use a microfiber cloth with a mild detergent solution to remove fingerprints or dust. Avoid using harsh chemicals, as they can scratch or dull the surface.
Consider doing regular check-ups. Inspect your artwork periodically for any signs of fading or damage. If you notice any issues, address them promptly to preserve its quality.
When dusting or cleaning, take care not to remove the piece from its hanging position unless absolutely necessary. This helps maintain alignment and stability, ensuring your art stays the way you intended.
Alternative Installation Options
There are several creative ways to install acrylic wall art that can enhance the aesthetic appeal of your space. Two popular methods include using mounting posts for an elevated look and employing hooks and wire for an industrial vibe.
Mounting Posts for an Elevated Effect
Using mounting posts can create a visually striking installation. This method involves securing the acrylic art to the wall with small standoffs, which are typically made of metal or plastic. These posts space the artwork slightly away from the wall, giving it a “floating” appearance.
To install, first measure and mark the desired height on the wall. Drill holes for the posts and insert anchors for added support. Next, attach the mounting posts to the wall, followed by the acrylic print. Make sure the artwork is level before fully tightening the screws. This method enhances the artwork’s visual impact, making it a focal point of the room.
The Industrial Look with Hooks and Wires
For a more casual, industrial style, consider using hooks and wire. This method provides flexibility in hanging art at different heights or orientations, allowing for a dynamic display.
Begin by attaching sturdy hooks to the wall where you want to hang your artwork. Choose wire that is strong enough to support the weight of the acrylic piece. Measure the length needed, leaving some slack for adjustments.
Thread the wire through the top edge of your acrylic art and secure it tightly. Finally, hang the wire on the wall hooks. Adjust the height and angle to achieve the look you desire. This installation method complements modern spaces and adds a unique character to any room.
Frequently Asked Questions
Hanging acrylic wall art requires specific techniques to ensure secure and aesthetically pleasing results. This section addresses common questions relating to various methods and best practices for mounting acrylic pieces effectively.
What are the most reliable methods for mounting acrylic photo prints on a wall?
Some of the most reliable methods include using D-rings, Z-clips, and French cleats. Each method offers different advantages depending on the size and weight of the acrylic print. For heavy pieces, a French cleat is recommended for its strength and stability.
Can you explain how to use a French cleat system for hanging acrylic artwork?
To use a French cleat system, start by securing the cleat to the wall. Ensure the flat side is facing outward. Next, attach the corresponding cleat to the back of your acrylic piece. Hang the artwork by sliding the upper cleat onto the lower one, ensuring a snug fit.
What are some effective techniques for hanging acrylic signs without drilling into the wall?
For hanging acrylic signs without drilling, consider using adhesive strips or Velcro. Choose high-strength options designed for weight support. These allow you to mount the signs securely while preserving the integrity of your wall surfaces.
What is the most secure way to attach an acrylic sheet directly to a wall surface?
The most secure method is to use a mounting adhesive specifically designed for heavier materials. Ensure the wall surface is clean and dry, then apply the adhesive on the back of the acrylic sheet. Press firmly against the wall for the recommended duration to ensure a strong bond.
How do I utilize hanger plates in the installation of acrylic pieces?
Hanger plates can simplify installation by providing a robust mounting solution. Attach the plate to the wall and then to the back of your acrylic artwork. Ensure the plate is level before securing it to prevent any misalignment.
Are there any specialized hanging systems designed for Shutterfly acrylic prints?
Yes, Shutterfly offers specific hanging kits that fit their acrylic prints perfectly. These kits often include all necessary hardware, ensuring the correct fit and support for their unique products, making installation straightforward and efficient.